
*This post may contain affiliate links for which I earn commissions.*
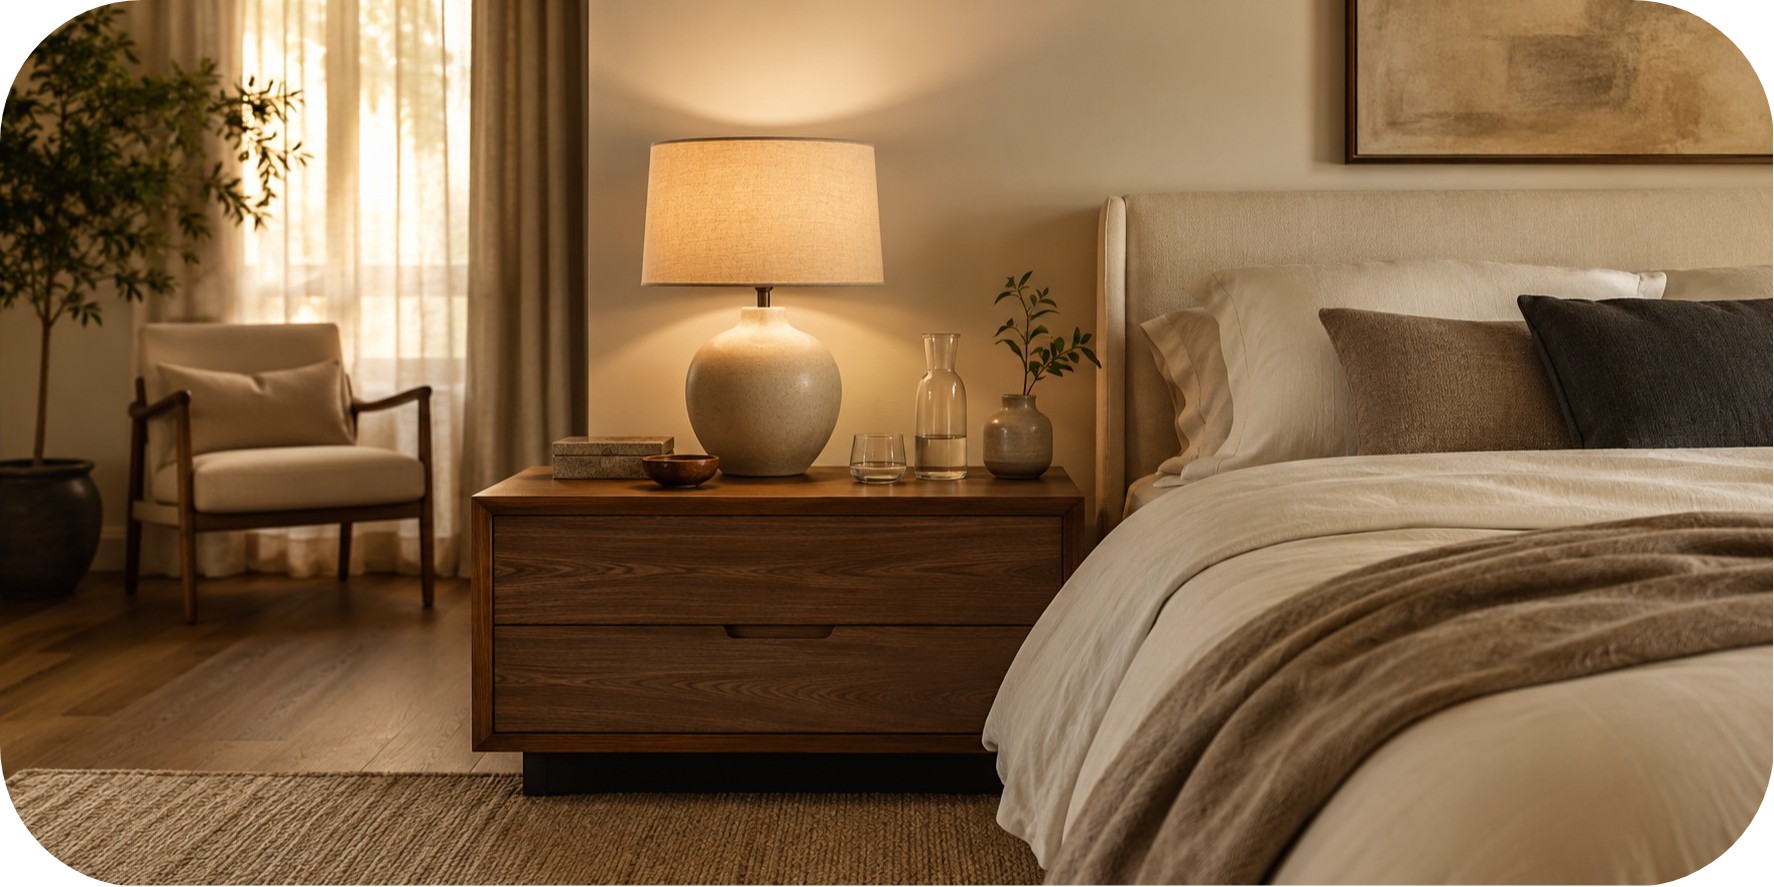
Start with the height of your nightstand. A bedside surface that sits close to the top of the mattress is easier to reach, looks more balanced, and prevents the awkward stretch for a lamp switch or glass of water.
From there, a few thoughtful choices can create a more functional, comfortable, and polished bedside setup that keeps everyday essentials within easy reach. The goal isn’t to fill every inch of the nightstand. It’s to give each useful item a clear place while leaving enough open space for the area to feel calm.
Quick Supply List
You may already have several of these pieces, so take a quick look around the bedroom before buying anything new.
Must-Haves
Look for a nightstand that sits within roughly 2 to 4 inches of the top of your mattress. A surface between 18 and 24 inches wide works well beside many standard beds, though a narrower table can suit a tight corner.
Drawers are helpful for hiding personal items, while an open shelf can hold books or a decorative storage box. Warm wood, painted cream, soft taupe, and charcoal finishes all work naturally within a calm bedroom palette.
Choose a lamp that provides soft, focused light without shining directly into your eyes. For most setups, a lamp between 20 and 30 inches tall creates a comfortable reading height when measured from the floor.
A linen, cotton, or frosted glass shade will soften the glow. Touch controls, dimming settings, and an easily reached switch make the lamp more practical at night.
A tray gives loose items a defined home. Use one for glasses, jewelry, lip balm, a watch, or other small essentials that tend to scatter across the surface.
A shallow tray between 6 and 10 inches wide is usually enough. Ceramic, wood, stone, leather, or woven materials can add a subtle layer of texture.
Nice-to-Haves
A simple alarm clock can reduce the temptation to keep a phone directly beside the pillow. Look for a dimmable display so the light doesn’t become distracting after dark.
A compact bedside carafe keeps water close without introducing disposable bottles or mismatched glasses. Choose a covered design with a stable base, especially if the nightstand is small.
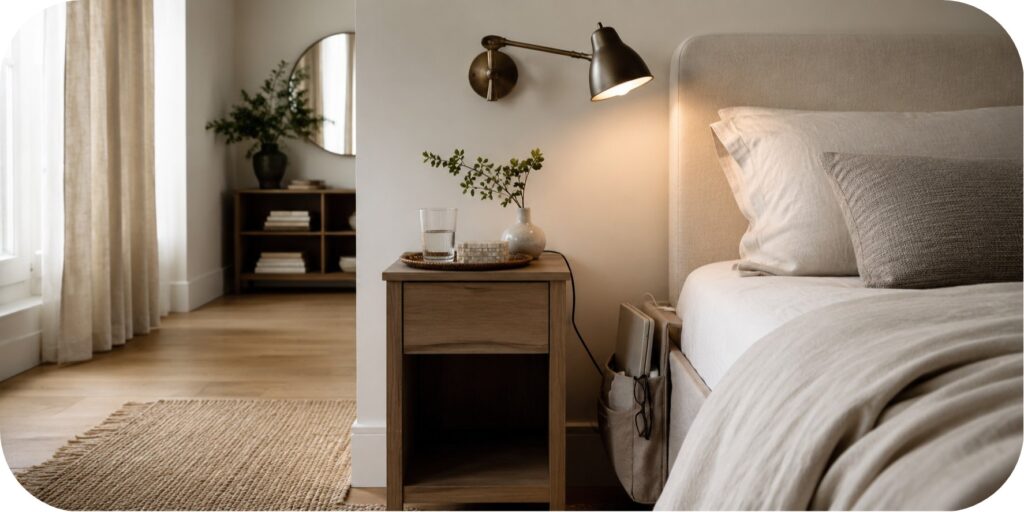
A hanging or slip-in bedside organizer can hold a book, tablet, reading glasses, remote, or charging cable. This is especially useful when there isn’t room for a large nightstand.
A lidded box keeps less attractive necessities hidden while adding height or texture to the setup. It can hold charging cords, medication, hand cream, or sleep accessories.
Optional Upgrade
A wall-mounted sconce frees up the nightstand and works particularly well in a small bedroom. Swing-arm and adjustable designs allow you to direct the light for reading.
Before installing one, check that the switch can be reached comfortably from bed. Plug-in sconces are often easier to add than hardwired fixtures and don’t require permanent electrical work.
Product Suggestions

Click Image To View

Click Image To View

Click Image To View
Do This First
Clear the entire nightstand before rearranging anything. Starting with a blank surface makes it much easier to see what the area actually needs.
Remove anything that belongs elsewhere in the room. Old receipts, spare cables, half-finished drinks, and stacks of unread books can make even a beautiful nightstand feel unsettled.
Sit or lie in your usual sleeping position and check what you can comfortably reach. Pay attention to the lamp switch, water glass, alarm clock, and charging cable.
Measure the nightstand, mattress height, and available wall space before shopping for replacements. A few quick measurements can prevent a lamp that overwhelms the table or a sconce that sits too high.
Decide which three to five items genuinely need to remain beside the bed. Everything else can move into a drawer, storage box, nearby dresser, or basket.
Place a small felt pad beneath ceramic, stone, or metal accessories to protect the nightstand surface. It’s a tiny step, but it keeps the setup looking better over time.
Follow These Steps
The Quick Version
- Clear and clean the nightstand.
- Position the nightstand close to mattress height.
- Add one properly scaled light source.
- Place daily essentials in a tray, drawer, or organizer.
- Keep water and charging access easy to reach.
- Finish with one decorative detail and leave open space.
The Detailed Version
Step 1: Start With the Right Nightstand Position
Place the nightstand close enough to the bed that you can reach it without leaning or twisting. A gap of 1 to 3 inches usually prevents bedding from catching while keeping the surface accessible.
The front edge of the nightstand can align with the mattress or sit slightly forward. Avoid pushing it too far toward the headboard, where items become difficult to reach.
Check the height from your normal sleeping position. Ideally, the tabletop should sit level with the top of the mattress or slightly below it.
Why This Works: Similar heights create a cleaner visual line and make nighttime essentials easier to reach.
Step 2: Choose the Main Light Source
Place a bedside lamp toward the back half of the nightstand. This keeps the front area open for a glass, book, or tray.
The bottom of the lampshade should sit near shoulder height when you’re seated in bed. If it’s too high, the exposed bulb may create glare. If it’s too low, the light may not reach the page of a book.
For a smaller nightstand, choose a narrow lamp base or install a wall-mounted sconce. A plug-in swing-arm sconce can provide flexible reading light without taking up surface space.
Use a warm white bulb, generally around 2700K, for a soft evening glow. A dimmable bulb makes it easier to shift from reading light to a lower, more restful setting.
Step 3: Create a Landing Spot for Small Items
Place a small tray near the front or outer edge of the nightstand. This gives frequently used items a natural place to land at the end of the day.
Keep the tray contents limited. Glasses, a watch, lip balm, and one small piece of jewelry may be plenty. When the tray becomes a catchall, the whole setup quickly begins to look cluttered again.
A material that contrasts gently with the nightstand adds interest. Try warm wood on a painted table, ivory ceramic on dark timber, or a woven tray on a smooth lacquered surface.
Step 4: Organize What You Don’t Want on Display
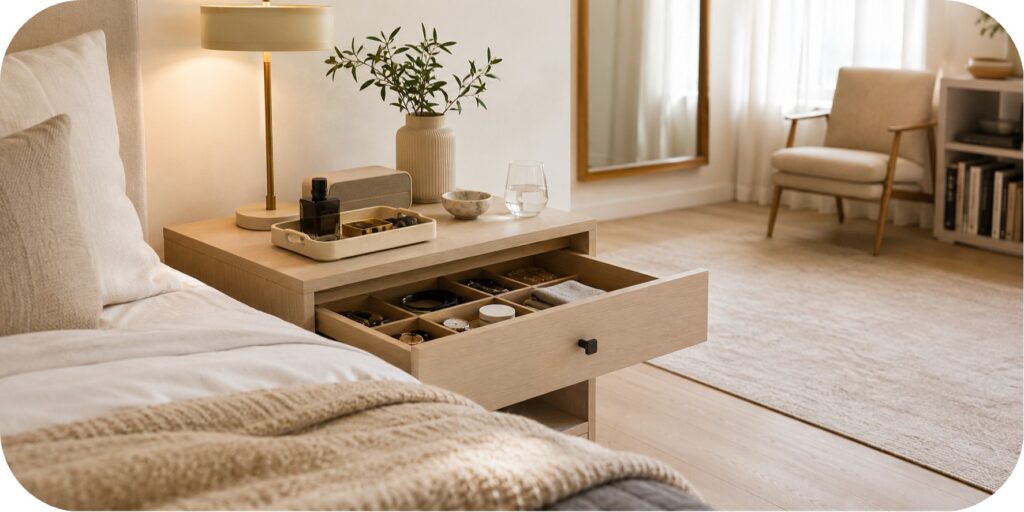
Move less attractive necessities into a drawer, decorative box, or bedside organizer. Charging blocks, medication, sleep masks, earplugs, and spare cables don’t need to remain visible.
Use a small divider inside a drawer to keep items from sliding together. Shallow trays designed for desks or cutlery can work just as well in a nightstand.
No drawer space? Place a compact lidded box beneath the lamp or on an open shelf. Choose one large enough to be useful but small enough to lift easily with one hand.
Step 5: Set Up Water Without Crowding the Surface
Position a carafe and glass toward the back corner opposite the lamp, provided the nightstand has enough depth. Leave a little space between the water and any electrical cords.
On a narrow nightstand, use a slim bottle with a secure lid instead. The bedside area should feel convenient, not precarious.
A coaster protects wood and painted surfaces from condensation. It also gives the glass a fixed place, which helps the arrangement stay orderly.
Step 6: Make Charging Simple
Route the charging cable along the back of the nightstand rather than across the surface. Adhesive cable clips can keep it from slipping to the floor.
Place the charging point where it can be reached without moving the lamp or water glass. A nightstand with a built-in outlet can be useful, but a neatly secured extension lead also works when placed safely behind the furniture.
Try keeping the phone slightly farther from the pillow, either at the back of the nightstand or inside an open shelf. That small distance can make the bedside surface feel less dominated by technology.
Step 7: Add One Decorative Detail
Choose one finishing piece rather than several unrelated accessories. A small framed print, bud vase, candle, sculptural object, or short stack of books can soften the functional elements.
Keep the scale modest. The decorative piece should support the setup rather than compete with the lamp.
One detail I particularly like is a single leafy stem in a small ceramic vase. It introduces shape and subtle greenery without making the nightstand feel styled for styling’s sake.
Step 8: Leave Some Surface Empty
Open space is part of the design. Aim to keep roughly one-third of the nightstand clear, especially near the bed.
This gives you somewhere to place a book, cup of tea, or temporary item without disrupting the entire arrangement. It also allows the textures and shapes you selected to stand out more clearly.
Step back and look at the setup from the doorway as well as from the bed. Adjust any pieces that appear crowded, uneven, or difficult to use.
Trouble Spots + Solutions
The lamp feels too large
Choose a narrower base, a smaller shade, or a wall-mounted sconce. The lamp should provide enough light without occupying most of the tabletop.
The nightstand still looks cluttered
Remove anything you don’t use daily. Place small necessities in a drawer or lidded box and limit the visible surface to a few purposeful items.
The charging cable keeps falling
Secure it to the back edge of the nightstand with a reusable cable clip. Leave enough slack to reach the bed comfortably.
There’s no room for a standard nightstand
Try a wall-mounted shelf, narrow pedestal table, slim C-shaped table, or bedside organizer. Even a surface 10 to 14 inches wide can hold a small light and glass.
The lighting is too harsh
Switch to a warm white bulb, use a lower lumen output, or add a dimmer. A fabric or frosted glass shade will also soften direct glare.
The setup looks unfinished
Repeat one material or color from elsewhere in the bedroom. A warm wood tray, ivory ceramic vase, or charcoal frame can visually connect the bedside area to the rest of the room.
The two sides of the bed don’t match
They don’t need to match exactly. Keep one shared element, such as similar lamp heights, repeated finishes, or matching nightstand proportions, to create balance.
Make It Your Own
Beginner-Friendly Tweaks
Start by removing three unnecessary items from the nightstand. This can make a bigger difference than adding something new.
Replace a bright bulb with a warm, dimmable version. The softer light immediately changes how the bedroom feels in the evening.
Add a small tray or shallow bowl for loose essentials. It’s an easy way to make everyday objects look more intentional.
Move charging cables behind the furniture and secure them in place. Cleaner cable placement helps the entire bedside area feel calmer.
Choose one decorative piece that connects with the bedding, headboard, or wall color. A cream vase, taupe frame, or warm wood box can create a subtle sense of continuity.
Level-Up Tweaks
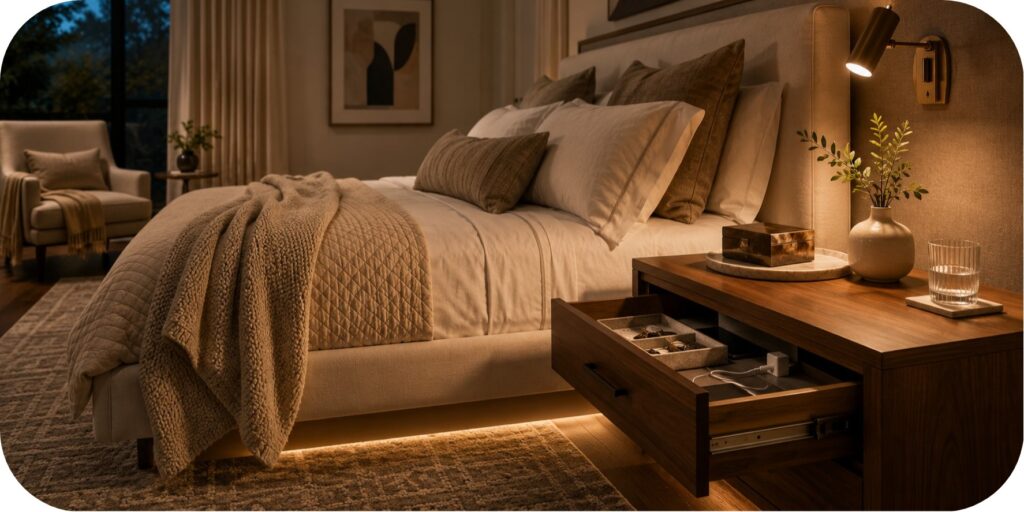
Install matching or coordinating wall sconces on both sides of the bed. This creates a more tailored look and leaves both nightstands open.
Add motion-activated lighting beneath the nightstand or bed frame. A low, warm light can make nighttime movement easier without turning on the main lamp.
Create a concealed charging drawer using an in-drawer power strip designed for furniture. Keep ventilation, cord access, and the manufacturer’s safety guidance in mind.
Use a layered lighting plan with a reading light, ambient lamp, and low-level night light. Each source serves a different purpose, making the bedside setup more adaptable.
Product Suggestions
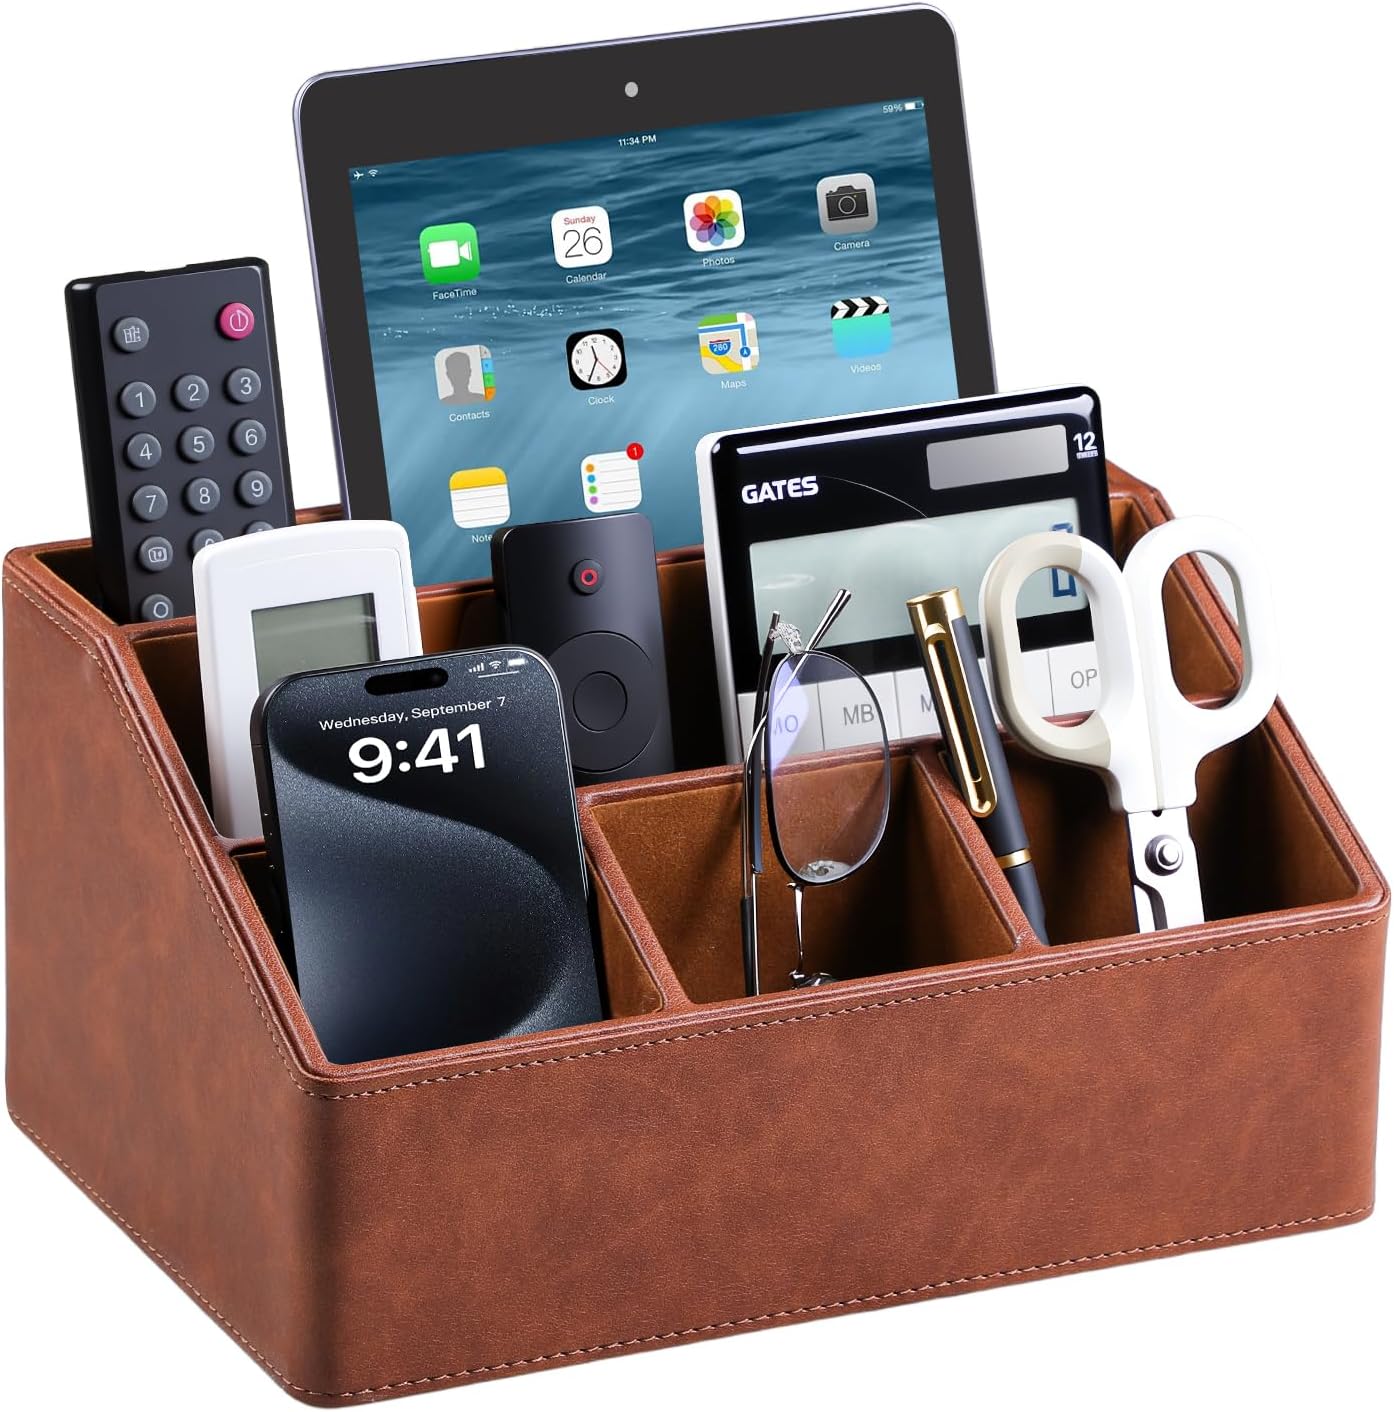
Click Image To View

Click Image To View

Click Image To View
Final Quick Check
Before calling the setup finished, test it during your actual evening routine.
Can you reach the lamp switch without stretching? Is there a stable place for water? Does the charging cable stay where you need it? Can you set down a book without moving several decorative objects first?
The most successful bedside setups don’t simply look polished. They quietly support the small things you do before sleep and when you wake up.
Would you start with a simple tray-and-lamp refresh, or try a space-saving wall sconce setup?