
*This post may contain affiliate links for which I earn commissions.*
Renter-Friendly Greenery Wall Ideas for Small Spaces
A blank wall on a balcony, patio, entryway, or small corner can feel a little unfinished, especially when the rest of the space has already been styled. A greenery wall is one of those updates that adds texture right away, but renters need a version that doesn’t leave holes, heavy hardware, or a repair project later.
The good news is that a plant wall can still feel polished without becoming complicated. Readers will learn how to create a stylish renter-friendly greenery wall that adds life, texture, and a calm elevated feel to a small space without damaging walls.
Quick Supply List
Here’s a simple checklist to gather before starting. You don’t need every item, but having a few renter-safe options makes the process much easier.
□ Faux greenery panels
Look for lightweight panels around 20 x 20 inches or 24 x 24 inches. Smaller panels are easier to arrange, easier to move, and less likely to sag.
□ Removable wall hooks
Choose hooks rated for more weight than you think you’ll need. Outdoor-friendly adhesive hooks are helpful for balconies or covered patios.
□ Wall-mounted planters
Use lightweight plastic, resin, or metal planters instead of heavy ceramic ones. Shallow planters work especially well in narrow spaces.
□ Hanging planters
Look for small hanging planters with slim chains, rope hangers, or adjustable straps. These can soften the look without taking up floor space.
□ Lightweight trellis panels
A slim wood, bamboo, or metal trellis can create structure without needing a permanent installation.
□ Faux trailing plants
Trailing vines help the greenery wall feel fuller and more relaxed. Look for soft, natural-looking leaves in varied lengths.
□ Plant Shelves
Narrow shelves can hold small pots, but keep the weight light. A slim shelf with a raised lip is helpful if the space gets bumped often.
□ Self-watering planters
These are useful if you want real plants but don’t want daily maintenance. Look for compact sizes that won’t overwhelm the wall.
□ Zip ties, clear hooks, or removable clips
These small helpers make it easier to attach greenery to a trellis, railing, or temporary frame.
□ A measuring tape and pencil
This is less exciting, but it saves the wall from becoming crooked. One detail I particularly like is marking the full height and width with painter’s tape first so the layout feels less like guessing.
Product Suggestions

Click Image To View

Click Image To View

Click Image To View
Before You Start
Choose the wall or surface first. A greenery wall works best where it can be seen clearly, such as behind a small bench, beside a bistro table, above a planter shelf, or along a balcony side wall.
Check how much light the area gets. Real plants need the right conditions, but faux greenery can go almost anywhere. If the space gets strong direct sun, choose UV-resistant faux greenery or outdoor-rated planters so the color lasts longer.
Think about depth. In a small space, the goal is texture without bulk. A greenery wall that sticks out too far can make a balcony or narrow entryway feel crowded.
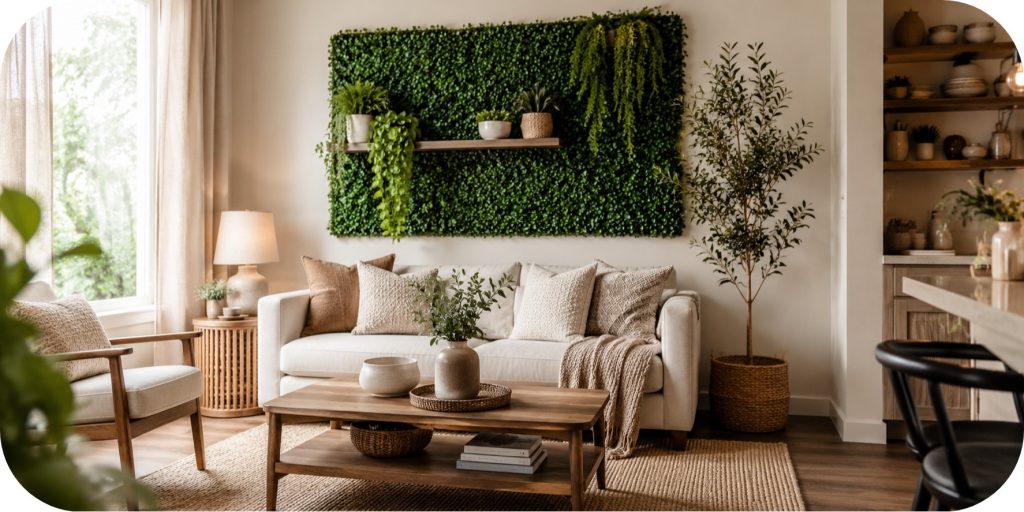
Decide if you want a full wall or a partial panel. A smaller 2 x 3 foot section can still create a styled look without covering the entire wall.
Keep the base simple. The greenery should be the feature, so nearby furniture, rugs, and accents can stay calm and neutral.
The Easy Steps
- Measure the wall area
Start by measuring the width and height of the space you want to cover. For a small balcony or apartment wall, a section around 3 feet wide by 4 feet tall is often enough to create impact without feeling too busy.
Use painter’s tape to outline the shape on the wall. Step back and look at it from the doorway, the seating area, or wherever the wall will be viewed most often.
- Choose your renter-safe base
A greenery wall needs something to hold the pieces together. The easiest renter-friendly options are a lightweight trellis, a tension rod setup, removable hooks, or a freestanding plant shelf.
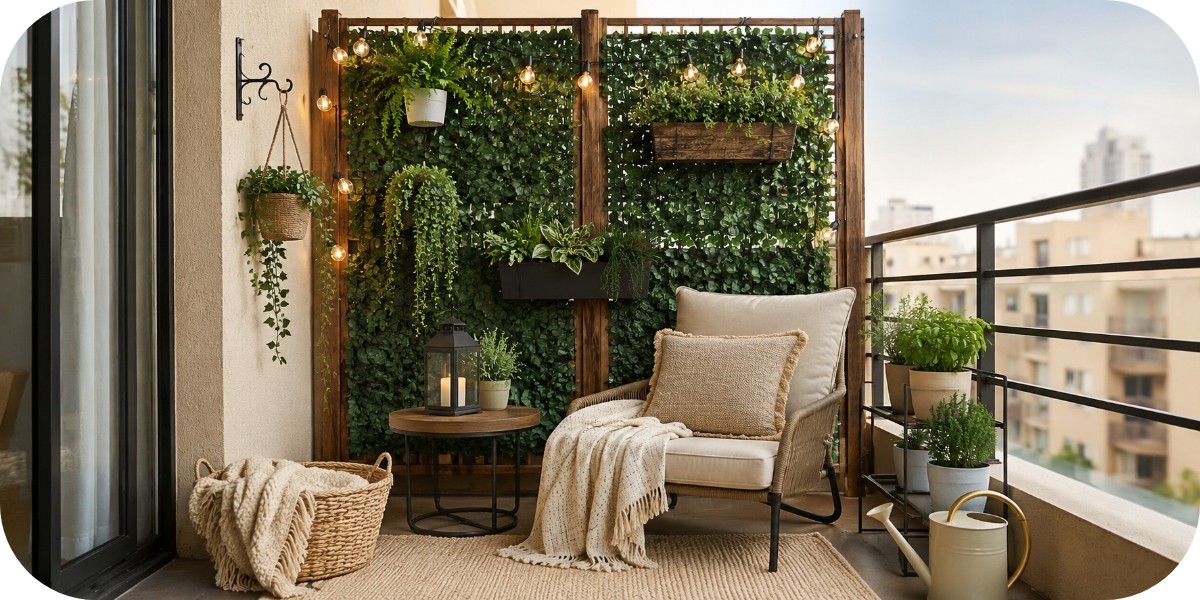
For balconies, a trellis leaned against the wall or attached to a railing can work well. For indoor spaces, removable hooks and lightweight panels are usually simpler.
- Test the weight before hanging everything
Before building the full wall, attach one panel or planter and leave it in place for a few hours. This helps you see whether the hooks, clips, or trellis can handle the weight.
Quick checkpoint:
At this stage, the wall should have a clear outline, a safe base, and one test piece that feels secure. Nothing should pull, tilt, or feel too heavy.
- Add the largest greenery pieces first
Place the faux greenery panels, trellis, or main planters first. These are the pieces that create the shape of the wall.
If you’re using panels, keep the edges lined up but avoid making everything look too perfect. A little variation in leaf direction helps the wall feel more natural.
- Layer in trailing greenery
Once the base is in place, add faux trailing plants or small hanging planters. Let some greenery fall slightly lower on one side to create movement.
This is especially useful in a small space because vertical lines draw the eye upward. The wall feels taller, softer, and more finished.
- Add small planters or shelves
If you want a mix of real and faux greenery, add a few small planters next. Stick with lightweight pots and smaller plant sizes, especially if they’re attached to hooks or shelves.
Good options include trailing pothos, small ferns, compact herbs, or faux stems in a narrow wall planter.
Quick checkpoint:
The wall should now have a clear shape, soft vertical movement, and a mix of textures. It should look intentional, not like separate plant pieces placed randomly.
- Balance the greenery with negative space
A greenery wall doesn’t need to be packed from edge to edge. Leaving small gaps can make the design feel calmer and more elevated.
If one area looks too heavy, move a trailing vine or remove a small piece. The best version usually has a little breathing room.
- Style the area around it
Add one or two supporting pieces nearby, such as a small outdoor chair, a slim bench, a neutral rug, a lantern, or a simple side table. Keep the surrounding décor quiet so the greenery wall feels like the focal point.
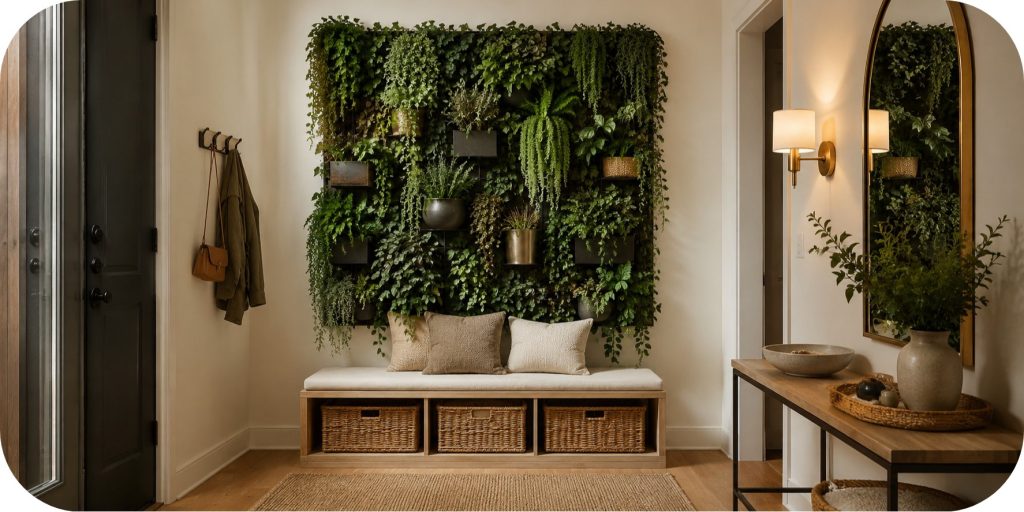
For an apartment balcony, a small bistro chair and textured outdoor rug can be enough. For an entryway, a narrow console or woven basket can make the greenery feel connected to the rest of the space.
- Do a final safety check
Gently tug on hooks, clips, planters, and panels. Make sure nothing shifts or pulls away from the surface.
If the setup is outdoors, check that lightweight pieces are secured against wind. A few clear zip ties can make the difference between styled and stressful.
Quick checkpoint:
The finished wall should feel secure, balanced, and easy to live with. It should add greenery and texture without blocking movement or making the small space feel crowded.
Optional Upgrades That Make It Feel More Finished
These aren’t required, but they can make the greenery wall look more polished.
Battery-operated picture light or small wall sconce
Outdoor-safe string lights
Slim plant shelf
Matching planter set
Woven basket for the floor area
Product Suggestions

Click Image To View

Click Image To View

Click Image To View
Common Mistakes (and Fixes)
The wall looks too busy.
This usually happens when every inch is filled. Remove a few pieces, especially around the edges, and let the wall breathe. A cleaner shape often looks more expensive.
The greenery looks too flat.
Flat panels can feel artificial if they’re used alone. Add trailing vines, a few different leaf shapes, or one small planter with real greenery to create depth.
The setup feels too heavy for the wall.
Heavy ceramic pots, large shelves, and bulky frames can be risky in a rental. Swap them for lightweight resin planters, faux greenery panels, or a freestanding trellis.
The hooks aren’t holding well.
Adhesive hooks need a clean, dry surface. Wipe the wall first, let it dry fully, and press the hook firmly in place. If the surface is textured or outdoors, use a railing, trellis, or freestanding frame instead.
The greenery wall doesn’t match the rest of the space.
The fix is usually in the surrounding colors. Add one neutral rug, a warm wood accent, or a simple woven detail nearby so the greenery feels connected to the room or balcony.
Style Options
Minimal and clean
Use fewer pieces and leave more open wall around the greenery. Choose one type of faux greenery panel, one slim planter, and a neutral rug or bench nearby.
This path works well for modern apartments, narrow balconies, and small entryways where clutter shows quickly.
Cozy and layered
Mix greenery panels with trailing plants, woven baskets, a soft outdoor cushion, and warm lighting. Keep the palette neutral so the layers feel calm instead of crowded.
This is a good choice for balcony seating areas or little corners that need more softness.
Natural and collected
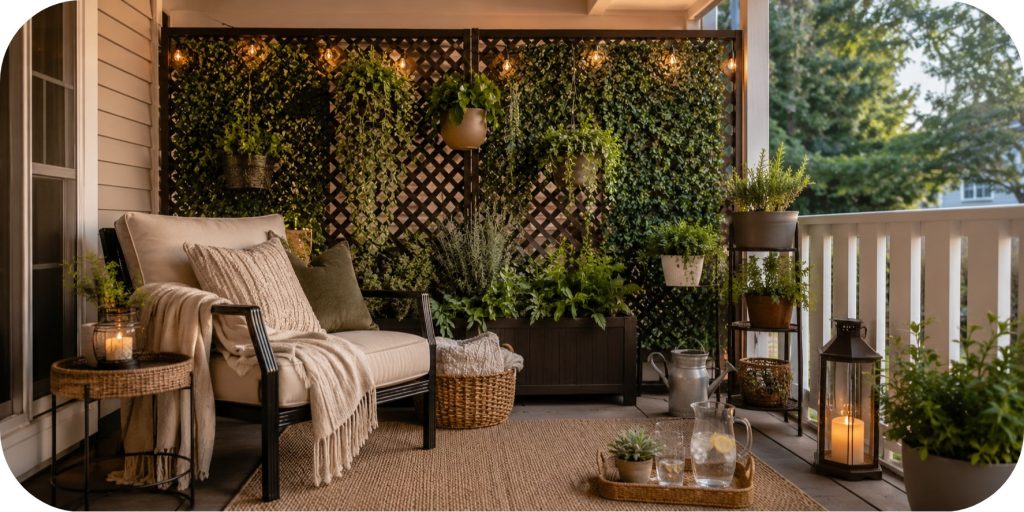
Combine a lightweight trellis, a few real plants, small wall planters, and warm wood accents. Let the greenery feel a little organic rather than perfectly symmetrical.
This style works best when the space already has natural textures like wood, linen, rattan, stone, or ceramic décor.
The “Looks Done” Checklist
Before calling the greenery wall finished, skim through this quick list:
□ The wall feels secure and renter-safe
□ The greenery doesn’t block walkways or seating
□ The layout has a clear shape
□ There’s a mix of height, texture, and soft movement
□ Heavy items are kept low or freestanding
□ The surrounding décor feels calm and connected
□ There’s enough negative space so it doesn’t look cluttered
□ The setup can be removed later without damage
A renter-friendly greenery wall doesn’t have to be complicated to look beautiful. Start with a lightweight base, add greenery in layers, and keep the surrounding space simple. The result is a small-space feature that feels fresh, styled, and easy to enjoy.